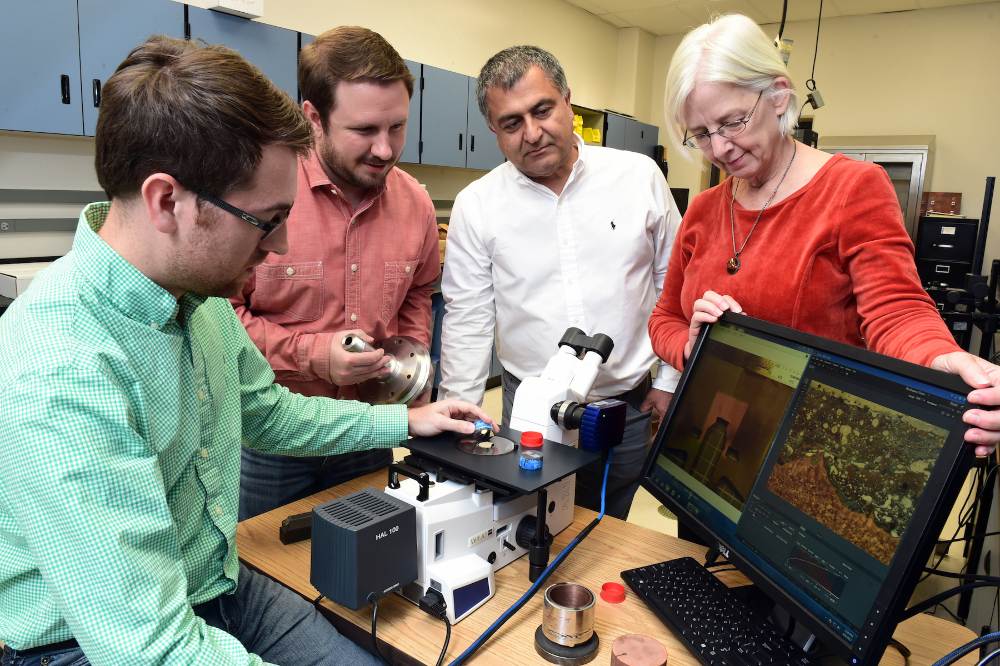
Advancements in metal 3D printing have led to an increasing interest from aerospace, automotive, and medical industries — three fields that cannot afford to have flawed products.
As additive manufacturing supports the creation of orthopedic implants, titanium aircraft components, and even hubcaps and side air vents, designers need to know that their parts are high-quality.
In a Tech Briefs webinar last month titled Metal 3D Printing, an attendee asked two industry professionals about how to monitor and test an additively manufactured product.
See the edited responses below.
- How do you verify component quality?
Matt Sand, President, 3DEO (Gardena, CA): That question drives at one of the biggest challenges of metal 3D printing.

To verify quality, we monitor the builds as they’re being built. We have a number of sensors and cameras in the machine as they’re printing parts. We have closed-loop feedback systems in the print.
Then, we also do a lot of inspection after the print. That inspection depends on what the customer requirements are, but this would be everything from visual systems to co-ordinate measuring machine (CMM) touch probe systems to old-fashioned gauges and calipers. It’s similar to what you’d expect from traditional manufacturing shops to verify properties.
What’s nice about 3D printing, in general, is you’re able to see the build as the part is being built. With injection molding, you have the mold, you inject the material, and you’re not really sure what’s happening inside the part.
When you’re printing on a layer-by-layer basis, with 100-micron layers, you’re able to see exactly what’s inside the part. As a result, you're able to get a higher level of confidence in terms of what is actually happening inside of the component, even after the print production. Of course, all of this is tracked, logged, and entered into a database, and so full traceability of all production is maintained at all times.
- What is "in-process monitoring" of additive manufacturing?
Kevin Brigden, Applications Engineer, Renishaw (Wotton-under-Edge, UK): Clearly, we’re talking about an extremely complex manufacturing process. The biggest challenge we face is: What data do we collect, and what do we do with it once we’ve collected it?

In my presentation, I spoke about this idea that we can use in-process monitoring data to compare a part, in real time, to a known good quality part, which is a technique we’ve used elsewhere in our business.
Obviously, in additive manufacturing, we tend to be talking about considerably smaller production volumes than what we may be talking about with conventional technologies, but nonetheless, the quality requirements and the demand on the quality are significantly higher.
Traditionally, aerospace and medical industries have taken the most interest in the technology. In these industries, the quality concerns are of the highest priority. Our approach is to essentially innovate in terms of the sensors that we provide in the system, as well as the myriad sensors monitoring the system behavior (temperature, gas flow, pressure, etc.), which is relatively simple to understand and monitor and track.
Also, we have a number of sensors monitoring the process itself. We have a spectral system. We use two photodiodes to monitor plasma emissions and infrared emissions, but we also have, inline with our laser system, the ability to monitor power received at the bed vs. power demanded from the laser parameter set. So, we can actually check that what is happening at the bed is what we asked the machine to do.
We also recently introduced the ability to use acoustic sensors within the build volume to identify sonic events during a build. By using multiple acoustics sensors, we can actually triangulate the position where these sonic events happen. Now that may not tell us exactly happened or what it even means for the build, but what it does do is help us zero in on areas of interest, which has traditionally been the main difficulty with in-process monitoring of additive manufacturing.
Acoustic sensors also help us cut down the amount of data that we’re storing. To give you an example, our systems are sampling at a rate of 100 kilohertz, and we’re also sampling 12 bit. The data rate of collection is extraordinary. For a typical build, we may be talking in the order of terabytes. Now, I don’t think it’s reasonable today to suggest that customers should be having warehouses of hard disks of this data, so we need a much more efficient means of analyzing and assessing it. We’re zeroing in on what matters to refine and improve any manufacturing process.
Have a question or comment of your own? Share it below.
Transcript
No transcript is available for this video.


