Have you ever gazed at the vastness of the stars and wondered what else your CNC machine can create? Greg Green had the opportunity to find out when he joined the staff at the Canada-France-Hawaii Telescope (CFHT) in Waimea, Hawaii.
Green is the sole mechanical designer and instrument maker for the 3.6-meter telescope on the summit of Maunakea, a dormant volcano. He can be found in a back building of the headquarters in Kamuela, where a machine shop houses one CNC vertical machining center and several manual tools, including Bridgeport Mills, lathes, and surface grinders.
For the past 10 years, Green has been responsible for machining parts to maintain and extend the capabilities of the facility’s five instruments.

“Having in-house machining is a rarity,” he said. “Our engineers come up with very creative solutions to make our instruments better and, usually, I can implement them that same day. We go through this process of testing, redesigning, and making new components constantly and we eventually arrive at something that works very well.”
CFHT was first operational in 1979 as the oldest telescope in the Maunakea Observatories, a collaboration of 12 non-profit institutions that make up the most scientifically productive site for astronomy in the world. The location contains optimal conditions for high-quality viewing and data collection.
At an altitude of 4,204 meters, CFHT focuses on wide-field imaging and high-resolution spectroscopy. It is funded by Canada, France, and the University of Hawaii. The staff of 40 team members includes engineers, technicians, astronomers, and administrators that handle the observations for all users granted access to the telescope.
Operation of the large telescope presents unique challenges for designing and machining parts. Thermal conditions create complexity when considering material type and flexure. Instruments at the observatory are supercooled to 70 K, or -334°F, to improve the signal-to-noise ratio for the chip that receives the photons of light. The machine shop is located 60 miles away at a significantly lower altitude with warmer temperatures around 75°F. Parts must be able to effectively perform with large temperature variations, as well as maintain tight tolerances.
“When tracking something that moves across the sky—an asteroid flying past the Earth or a whole other galaxy—our telescope moves at the rate that the object moves across the sky,” Green said. “You can imagine that things get a little fussy.”
Structural components must maintain stability to angstroms, or a hundred-millionth of a centimeter. The machine shop does not have the capabilities to reliably measure to that degree and it is not cost-effective to send parts to the mainland to be checked with a coordinate measuring machine. So, Green needs to produce results that are better than he can measure. He must trust the analysis and prioritize what he can control, which is accuracy, surface finish, and not making mistakes.
CFHT instruments cost millions of dollars and are owned by universities and funding agencies. If a part needs to be fixed or improved for performance, the robotics company that built the instrument drives the change. Onsite, Green is involved with the development process from design to production. He uses powerful programming software to successfully meet strict processing requirements.

Earlier in his career, Green was introduced to Mastercam® CAD/CAM software. With aspirations to work as a car designer, he started designing machines to build car-door handles and expanded to the machining side. Green brought the desire to use the software, along with his experience, to work at the CFHT.
“You design around your capabilities,” he said. “You know what your machine and software can provide. You just trust the process. The software is one of those tools that provides good and consistent results. And that’s why we use Mastercam.”
CFHT owns one educational seat of the software, which enables Green to train students from local high schools and the University of Hawaii. Through hands-on experience, interns learn how to program and run the CNC vertical machining center, a 1999 Cincinnati Arrow 500.
Originally in the budget for a new 5-axis machine, CFHT responded to the tough economic environment with cautious spending and purchased the pre-owned 3-axis machine. Although older, it had been installed and never run, so it was essentially a brand-new 23 year old machine.
“The accuracy is supposed to be twice as good as what I had before, so that machine has opened up some windows for improvement,” Green said.
He machines parts such as camera bodies and heat exchangers using a variety of materials. Part designs must consider varying rates of expansion and contraction from temperature variations for connecting components. While a lens may be made from Zerodur® (Schott Glass) with an extremely low coefficient of thermal expansion, its mount may be made from aluminum.
Raw materials are mostly aluminum with some stainless steel, titanium, and Invar, an iron-nickel alloy. Working within the CFHT budget and storage constraints, Green purchases only the amount of material necessary to make the part. Machining accuracy is critical. Any mistakes would be costly, requiring additional materials and shipping time.
Most resources are only available from the mainland, including repair services. Green said, “I have to baby my equipment so that means that my toolpaths do not get crazy aggressive. I take light cuts. I have to be super conservative on everything I do.”
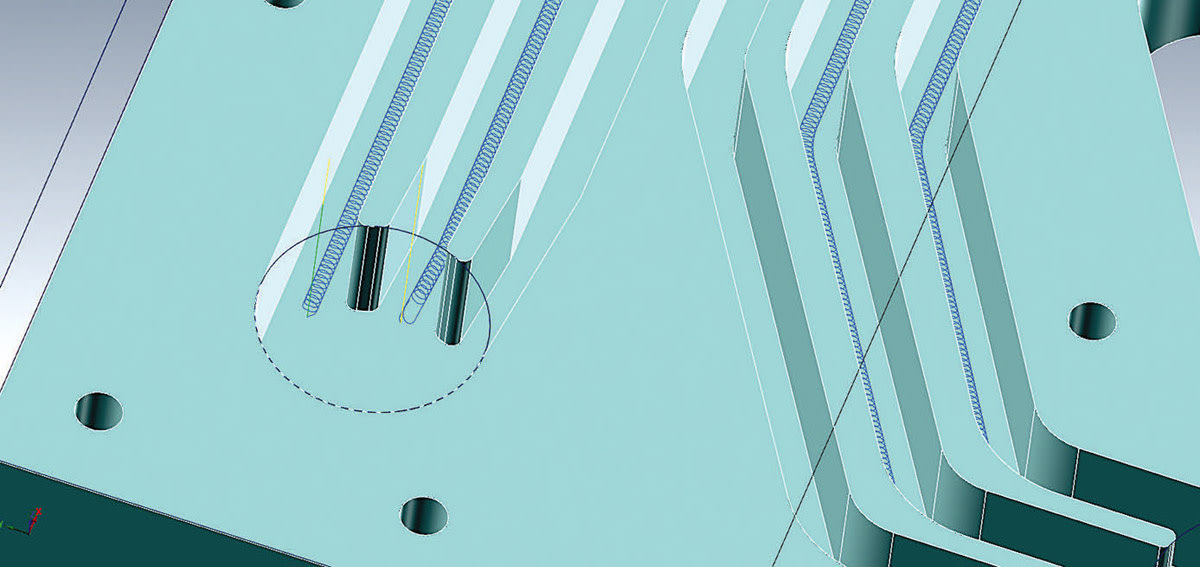
The different geometries require multiple toolpaths with different tools. Green uses OptiRough, Pocket, Facing, Drill, and Contour toolpaths. In one instance, he used Peel Mill to create a tiny radiator part. Limited to a maximum spindle speed of 8,000 rpm, a 3/32-inch end mill successfully machined a channel in a pocket that was five times deeper than the tool diameter.

The machine has an automatic tool changer with 21 slots but is only loaded with the 18 tool holders available at the machine shop. All the tools are frequently used and only rarely changed out for different hole sizes. Establishing consistent slots for each tool holder strategically allows programming to become more routine and efficient. For every job, CFHT purchases new indexable carbide tooling to ensure high-precision results.
“I’m not concerned with material removal rate, I’m concerned with surface finish,” said Green “Specifically, how do I get a mirror finish out of this?”
Some parts will be located in a vacuum chamber, which is incorporated within the instrument body to control temperature. The surface finish must be impeccable for the part to function properly.
Since each part is unique and Green is the only CFHT machinist, simulation proves programming accuracy. “The Verify feature in the software is priceless,” he said. “I know my post that spits out the G-code is reliable and what I see on the screen is what’s going to happen on my machine, so I don’t have to scrap something that I’ve been working on for a month.”
One of the more challenging projects for Green was creating the structural components for a small astrometric camera that drives the big telescope, similar to a sight on a gun. Some components were so large, they required four different machine setups. Green added holes to the design, allowing him to connect the part to a surface plate with dowel pins. He then indexed the part on the fixture to access the different areas for machining. The finished structure included carbon fiber tubes bonded to an aluminum end and bolted to a semisphere joint. The space frame cantilevers the camera into the optical path. As the big telescope tilts during the night, the carbon tubing is under tension or compression. The structure has to be rigid enough to overcome the gravitational loads, without flexing.
For other projects that require innovation or advanced solutions, Green consults the Streamingteacher website. The resource contains general training videos and more detailed concept presentations. On his own time, Green continues to broaden his knowledge, so he is ready if something breaks, especially during the valuable observation time at night.
CFHT budgets approximately $25,000 for each night of operation. “We do not lose nights of sky time for engineering issues,” said Green. “We have weather issues infrequently, but we can’t control that. If something breaks, I have to either replace that part or redesign it into something that we can produce and get the thing back on the sky. I make crazy stuff at night sometimes.”
One night, Green designed and machined a part similar to a Mason jar. Without a fourth axis, the equipment was unable to spin the part to machine all the sides. Green created a custom fixture with dowel pins and four holes. He programmed four machine setups in Mastercam and manually rotated the part at the different positions.
Green enjoys the variety at CFHT. At the most scientifically productive site for astronomy on the planet, he has the opportunity to machine parts that hold million-dollar chips, all with a 23-year-old machine, CAD/CAM software, and creative fixturing.
“This is the best job that I’ve ever had,” said Green. “The benefits and location are amazing, and I never make two of the same thing.”
This article was written by Michelle McNulty, Copywriter at Gorman Pompili Communications, on behalf of CNC Software, LLC (Tolland, CT). For more information, visit here .

